Connect Thinkific and Voma with Zapier to provision access to your courses when someone purchases your Voma offer.
Note: You will need to use Zapier to integrate Voma and Thinkific. To use Zapier with your Thinkific account, you'll need to be on the Thinkific Grow plan.
In this article, you'll learn how you can use automatically integrate Thinkific and Voma with the help of Zapier. You can use this for granting or revoking access to a Thinkific course.
Where to find your Zapier API Key in Voma
Go to the Integrations page of your Voma account, and click New Integration:
Click Zapier:
Click on the information icon for your Zapier integration:
Copy your API Key:
You can also click on View Zap Templates for some inspiration!

Create a Zap
Choose a trigger
Click Make a Zap in your Zapier account to open the Zap editor.
Select Voma as the Trigger app and New Order as the Event:
Connect your Voma account using the Zapier API key from your Voma account:

Select the name of your offer page and click Continue:
Choose an Action
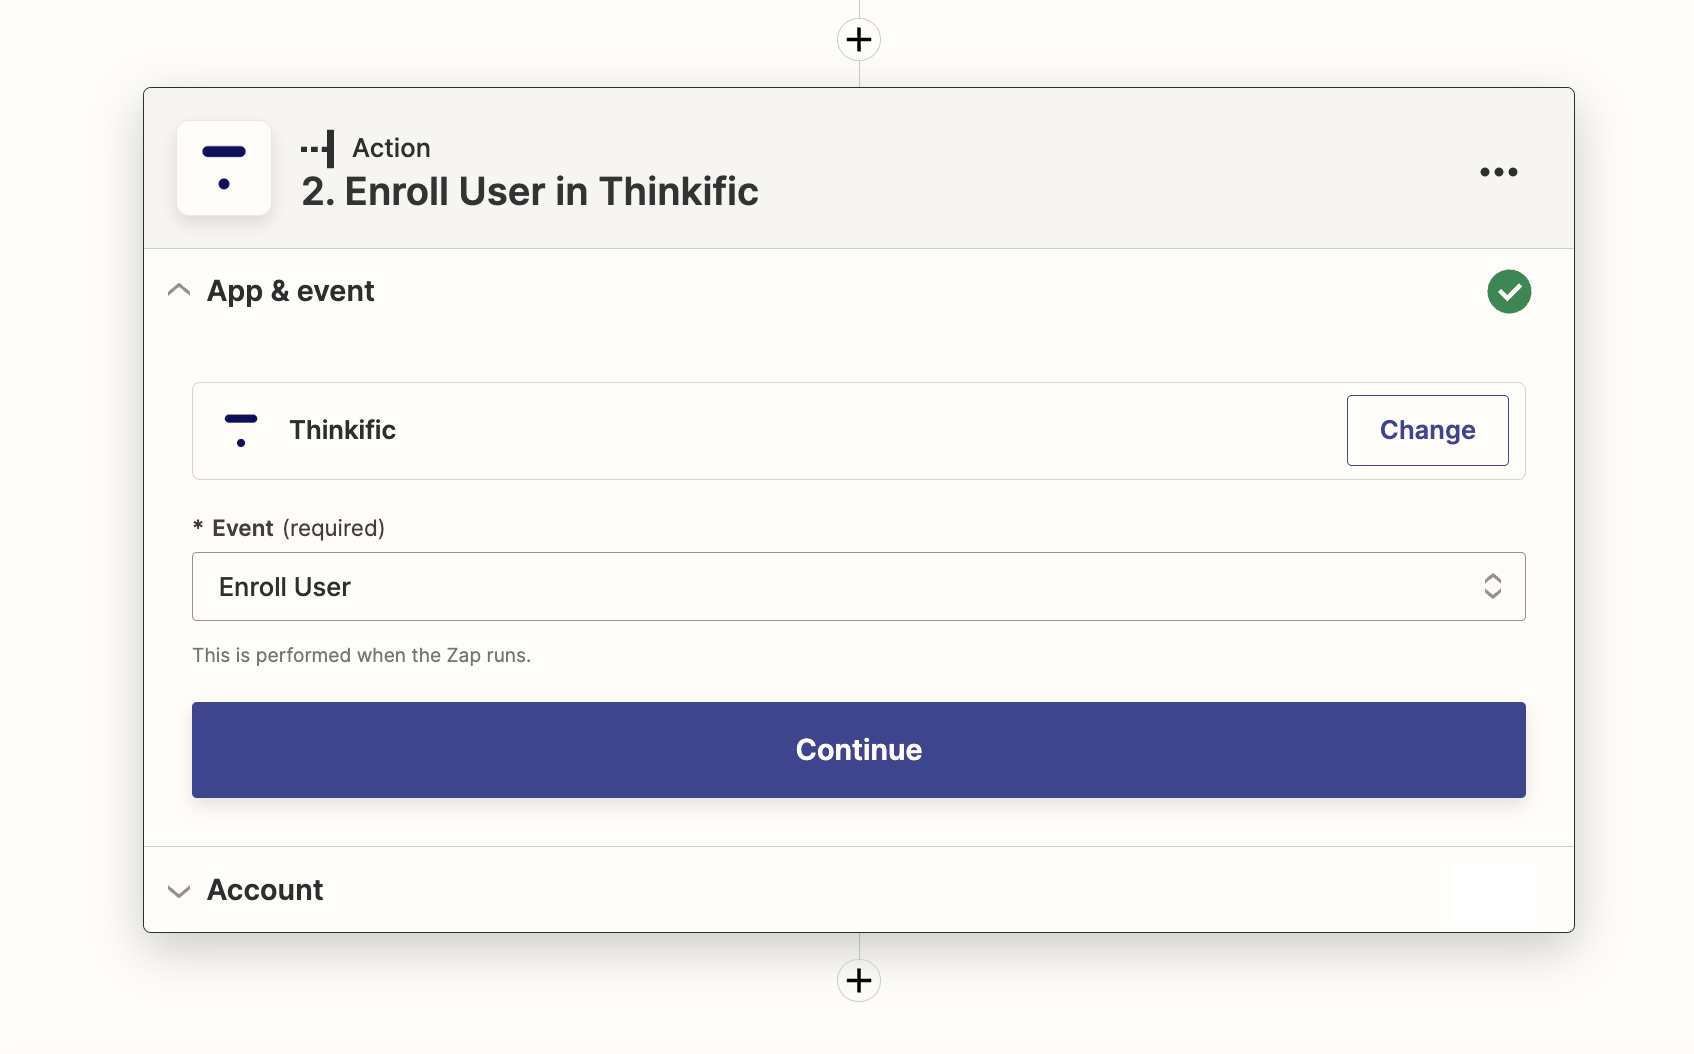
Select Thinkific as your Action app and Enroll User as the Event.
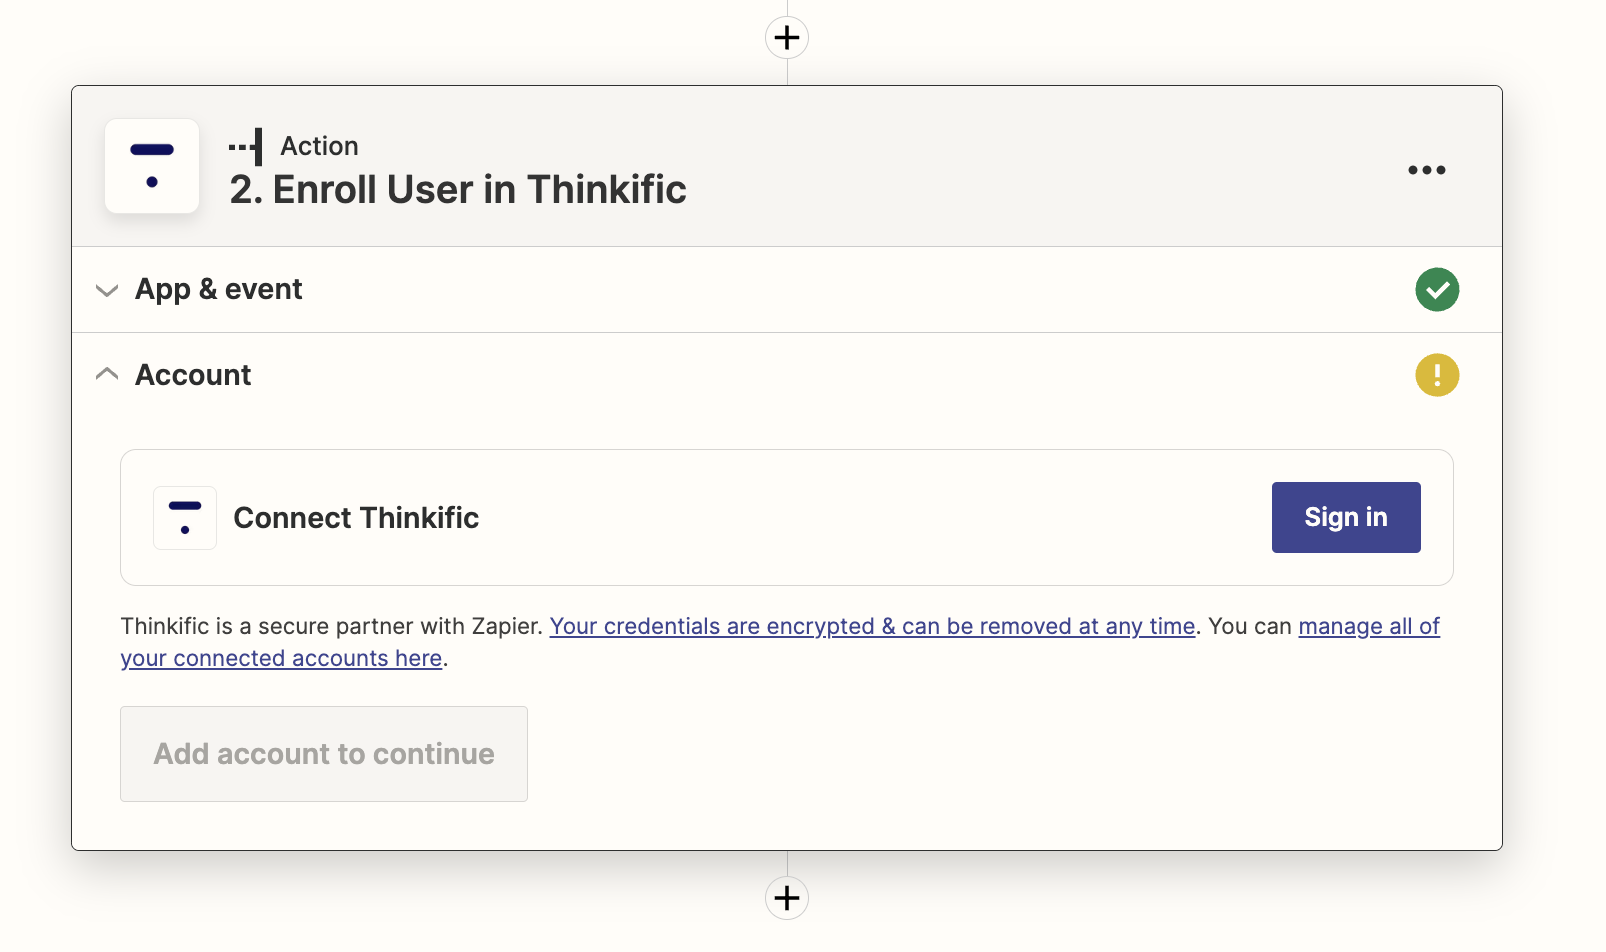
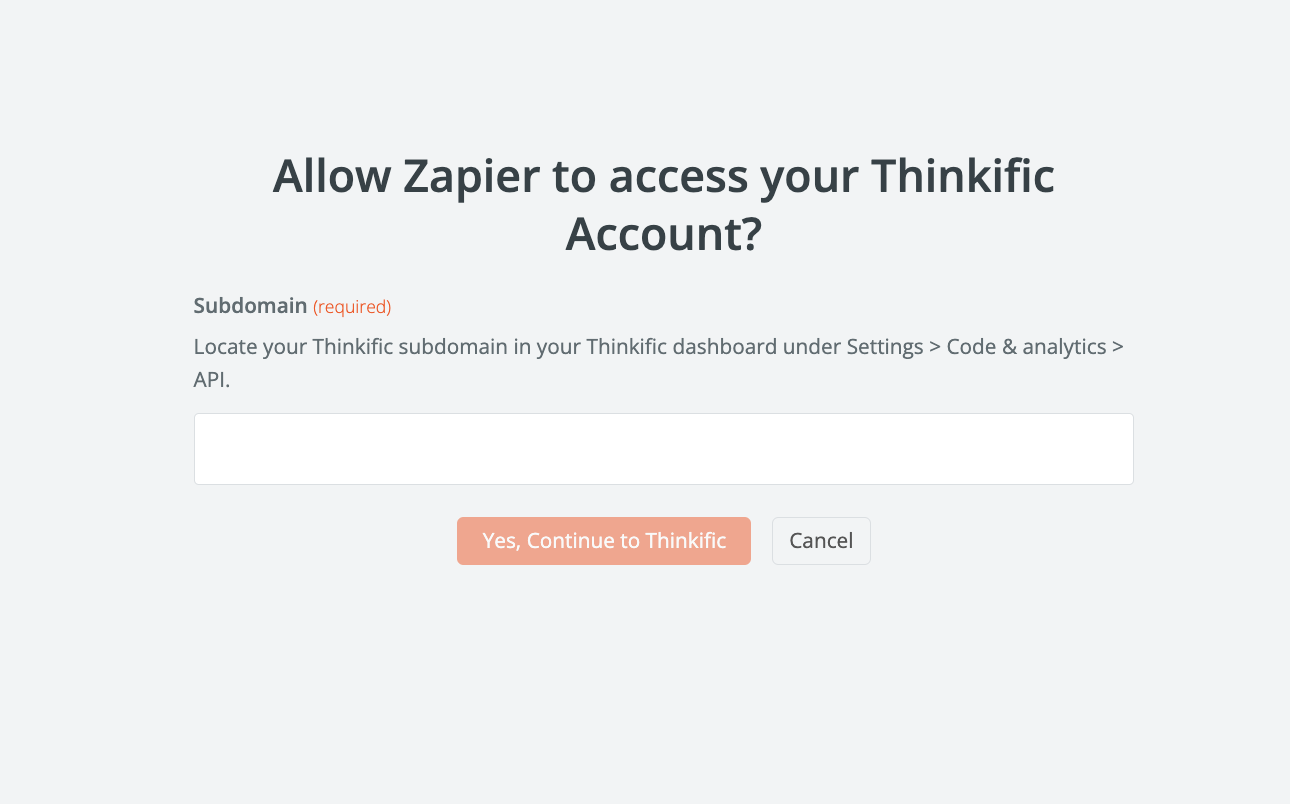
Under Account, click Sign in and connect your Thinkific account with your Thinkific subdomain.
Select the additional fields that you'd like to pass through to Thinkific.
And now you've connected your Voma payment page to Thinkific through Zapier!
If you have any questions, please let us know at help@voma.ai or in our live chat at the bottom right of your screen