This guide will show you how to add an evergreen deadline to your main offer with Zapier.
Adding an evergreen deadline is a great way to increase the urgency for your visitors to purchase your offer.
If a subscriber does not have access to the offer or their deadline has expired, Voma (by default) will prevent them from accessing your offer. To customize what happens when a subscriber does not have access to the offer or their deadline is expired, you can enable an After-Deadline Action in OfferStack.
Voma will use this After-Deadline action (if enabled) as the behavior when someone visits your offer and they don’t have access as well as when they visit your offer and their deadline is already expired.
In this doc we'll cover:
🔗 Head over to this guide for more details on creating an evergreen deadline in OfferStacks.
Email Integration with Zapier
To integrate your evergreen deadline with your funnel, select Zapier as your email platform:

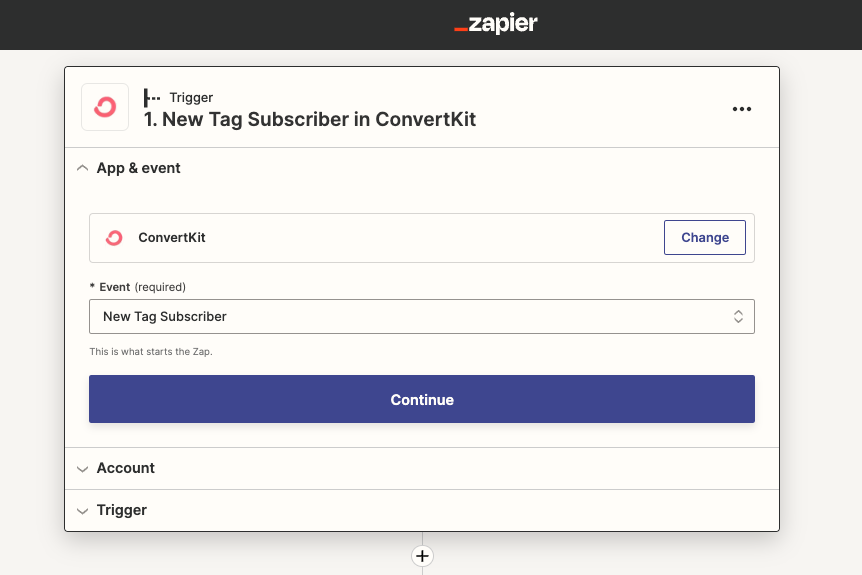
Next, you'll need to integrate Zapier with your Voma account and create a Zap that will trigger your deadline. Inside of Zapier, select your email platform as the Trigger app.

Select the behavior you want to trigger a deadline in your email platform. For most email platforms, this is when a subscriber fills out a form, is assigned a tag, or joins a list/audience. In this example, a tag being applied in ConvertKit is the event that will trigger the deadline.
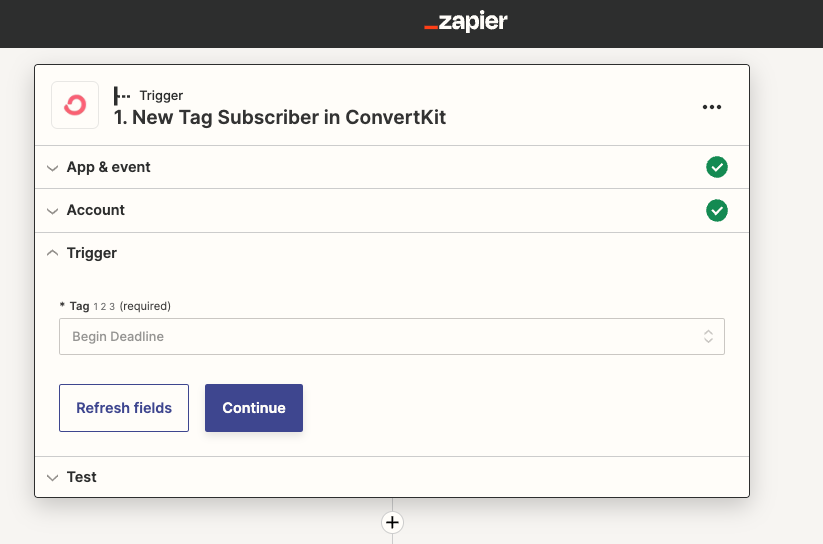
Connect your email platform to Zapier then specify which tag, form, or list will trigger your deadline. In this example, when the 'Begin Deadline' tag is applied in ConvertKit, we'll trigger a deadline in Voma.
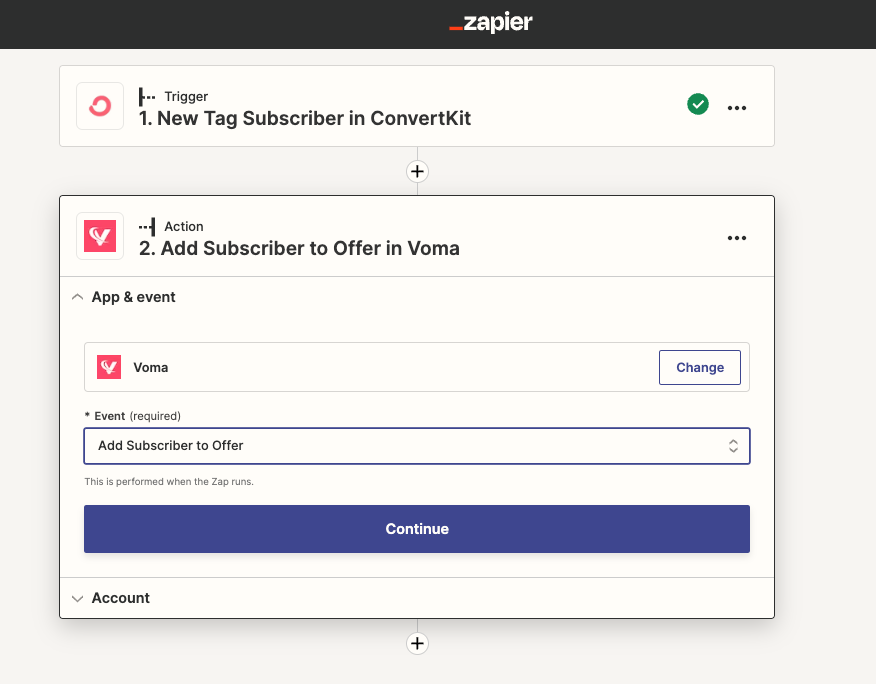
Test your Trigger app then select Voma as the Action app and 'Add Subscriber to Offer' as the event.
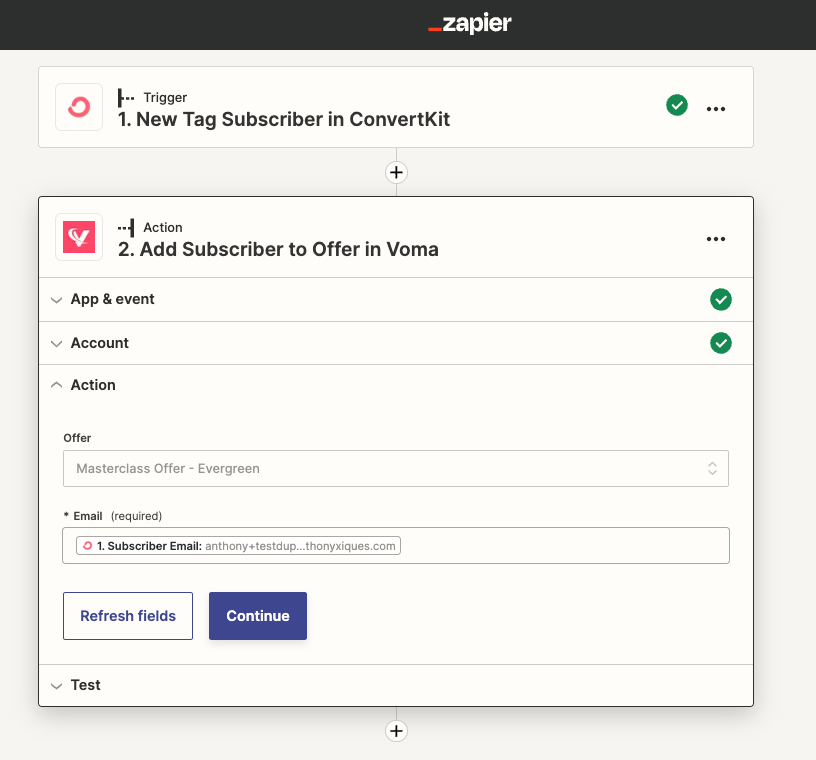
Connect your Voma account to Zapier and then select your Offer in Voma that should trigger the deadline. Under Email, select the email field from your email platform so you can see your subscriber's emails in Voma.
Test your Zap then hit publish! Now a deadline will be created in your offer in Voma whenever a specific action is taken in your email platform.
Email Links
To ensure a subscriber's deadline will remain accurate, you'll need to use Voma email links. This is a URL you'll put inside your emails that will point readers to your offer.
An email link is made up of the following parts:

For example, here's how a ConvertKit email link would look:

You can find your email placeholder by creating a new email in your email platform and adding the placeholder to your email. If you can't tell after that, look at the HTML of the email.
Here is a list of the email placeholders for popular email platforms:
- AWeber- {!email}
- ClickFunnels- #EMAIL#
- ClickFunnels 2.0-
- ConvertKit-
- Flodesk -
- GetResponse-
- HighLevel-
- Kajabi-
- Mailchimp- *|EMAIL|*
- Mailerlite- {$email}
- Podia-
- SendinBlue-
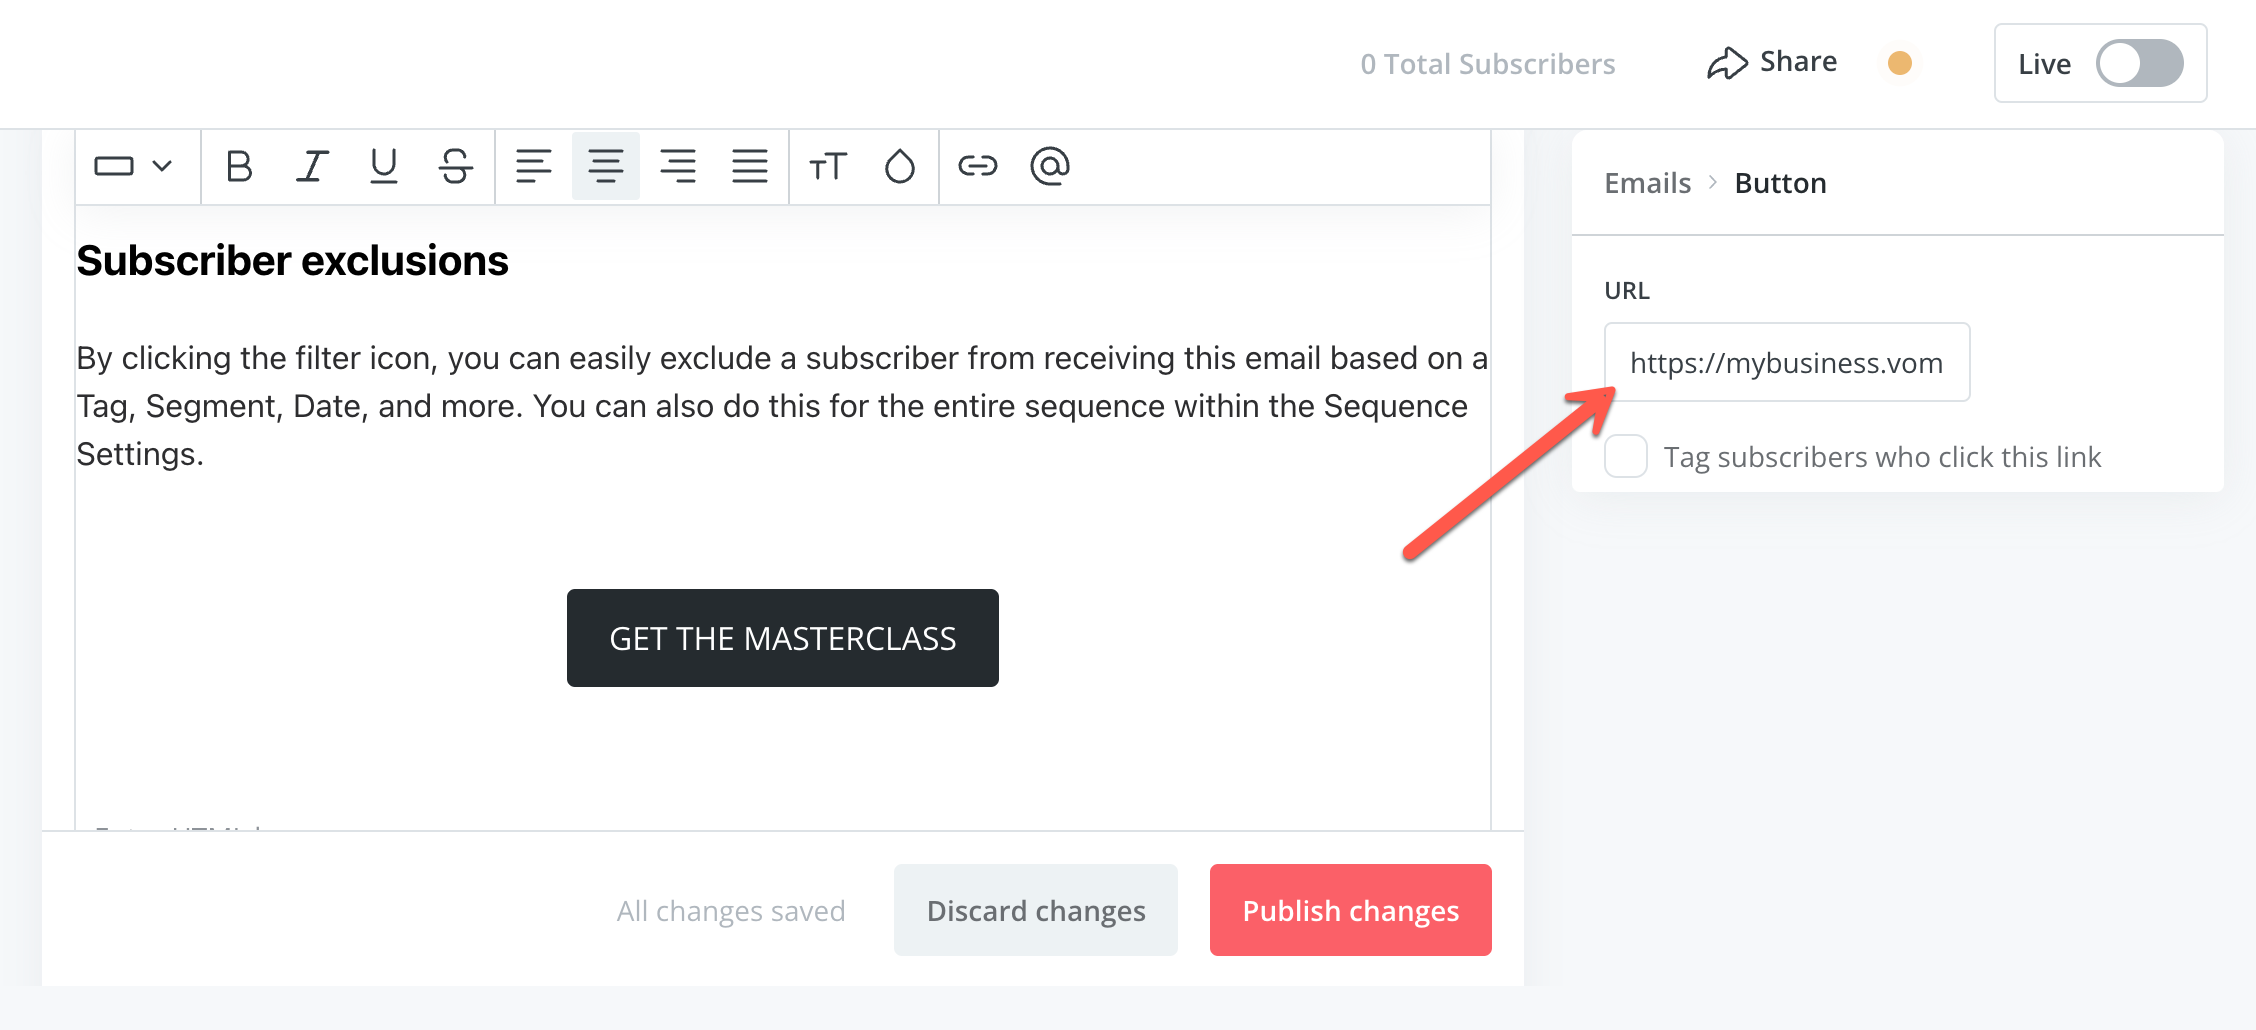
You can place your email links anywhere in your emails where you're linking to your offer page. In this example, I'm changing the URL of the button in my email to my Voma email link.
If a subscriber visits a Voma offer through a Voma email link, then Voma will first check if that subscriber has access to your offer, then check if their deadline is expired. Your subscriber will be able to access the offer if they have access and their deadline is not expired.
Going Live with Your Offer
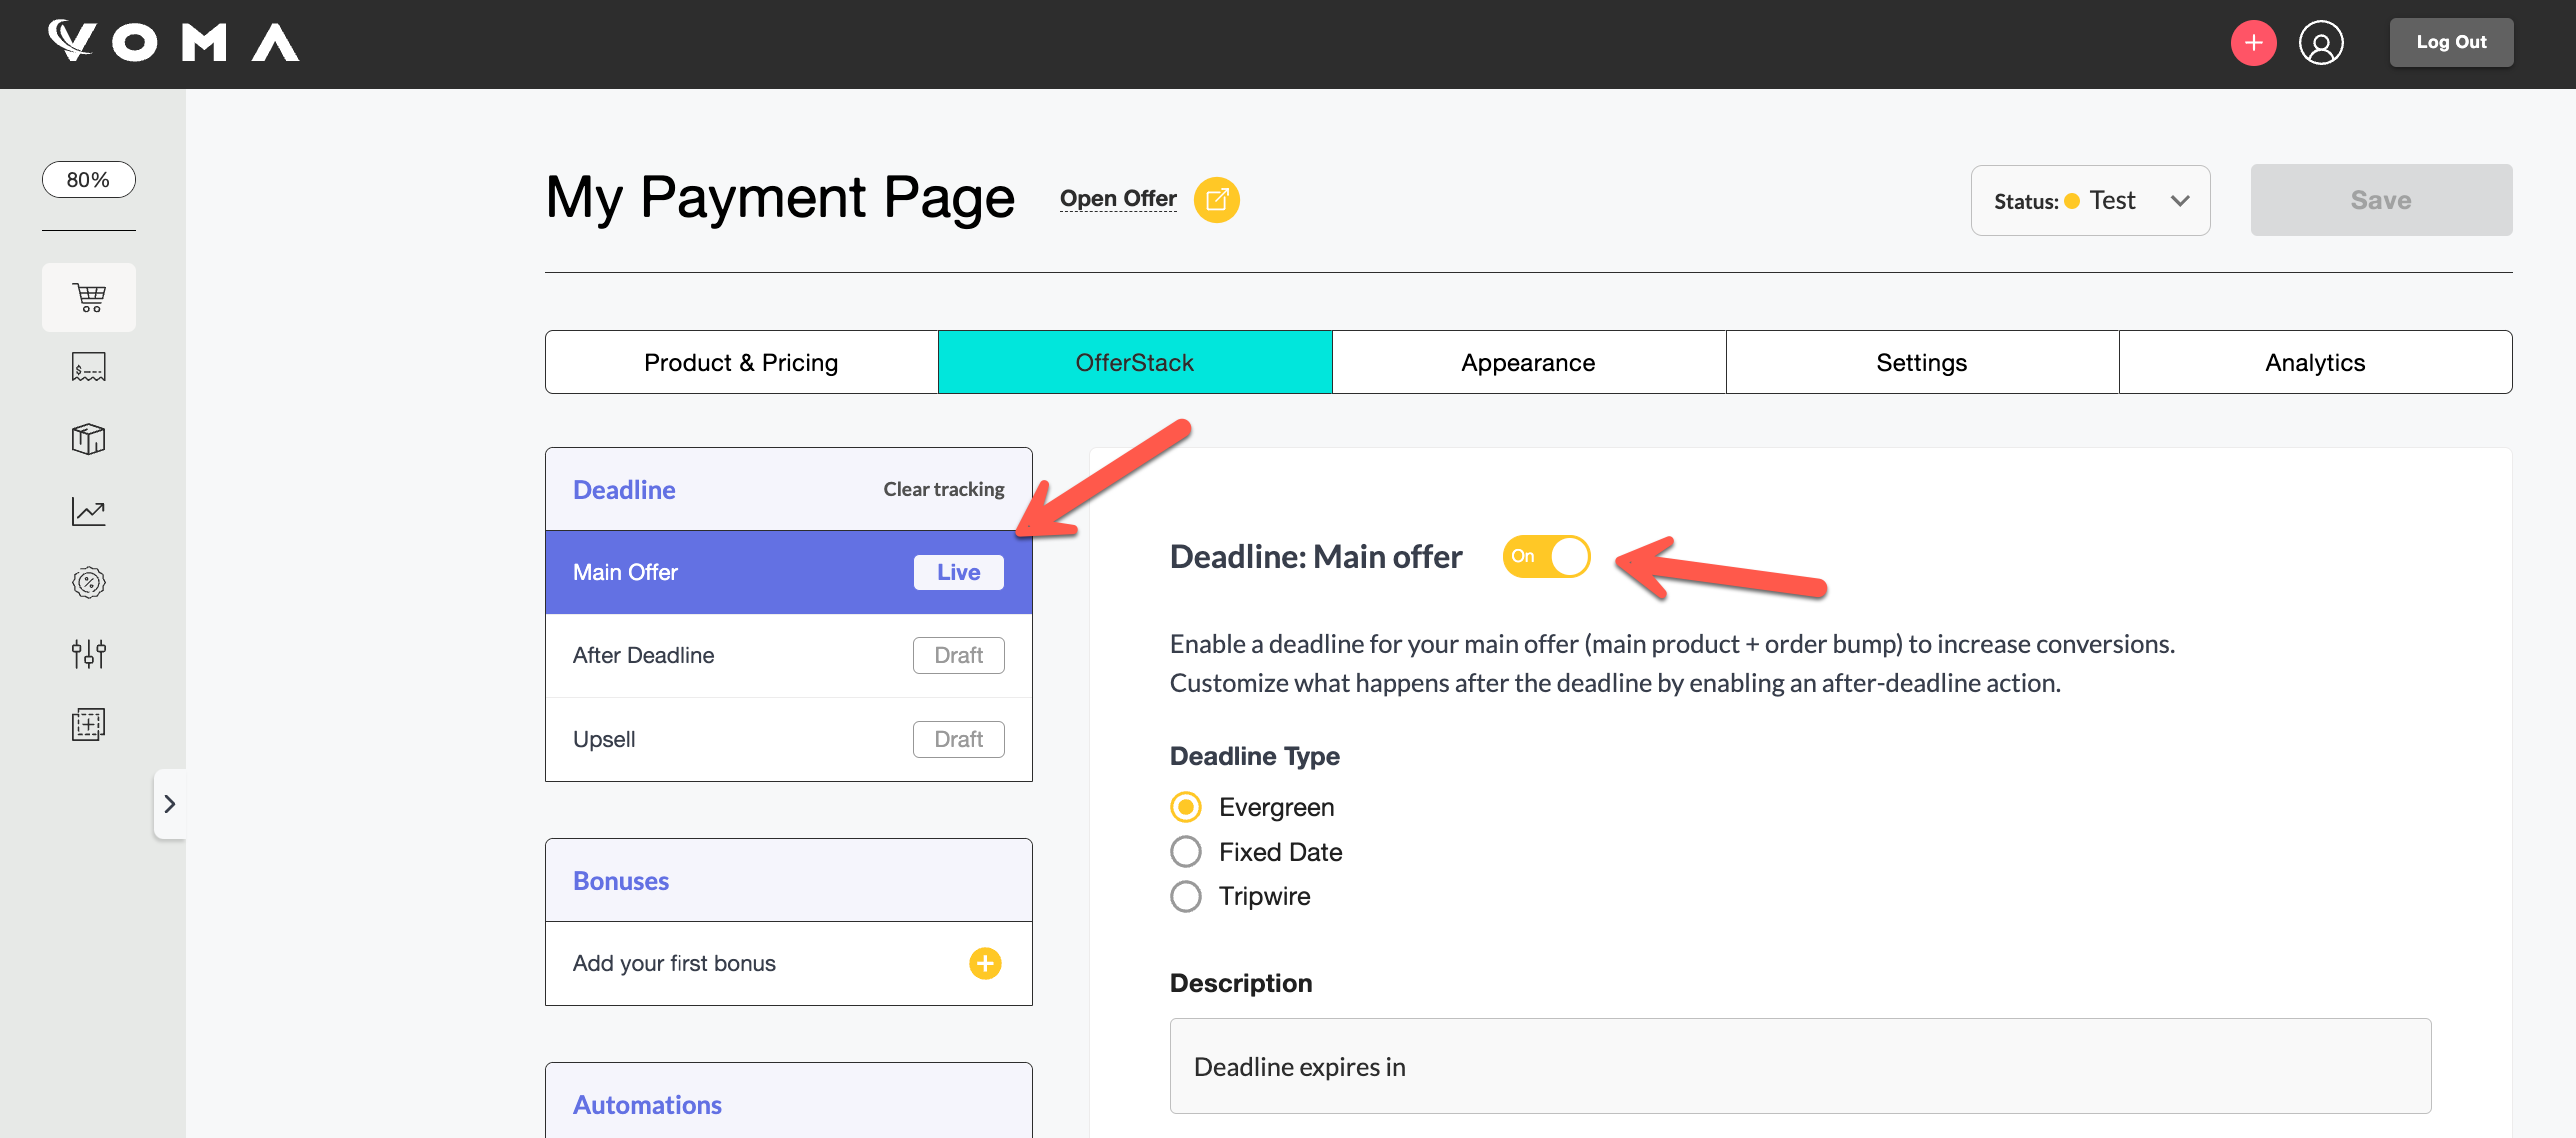
Once you've set up your Zap and added your email links, make sure your deadline is active by checking the 'Live' label next to Main Offer or the 'On' toggle.
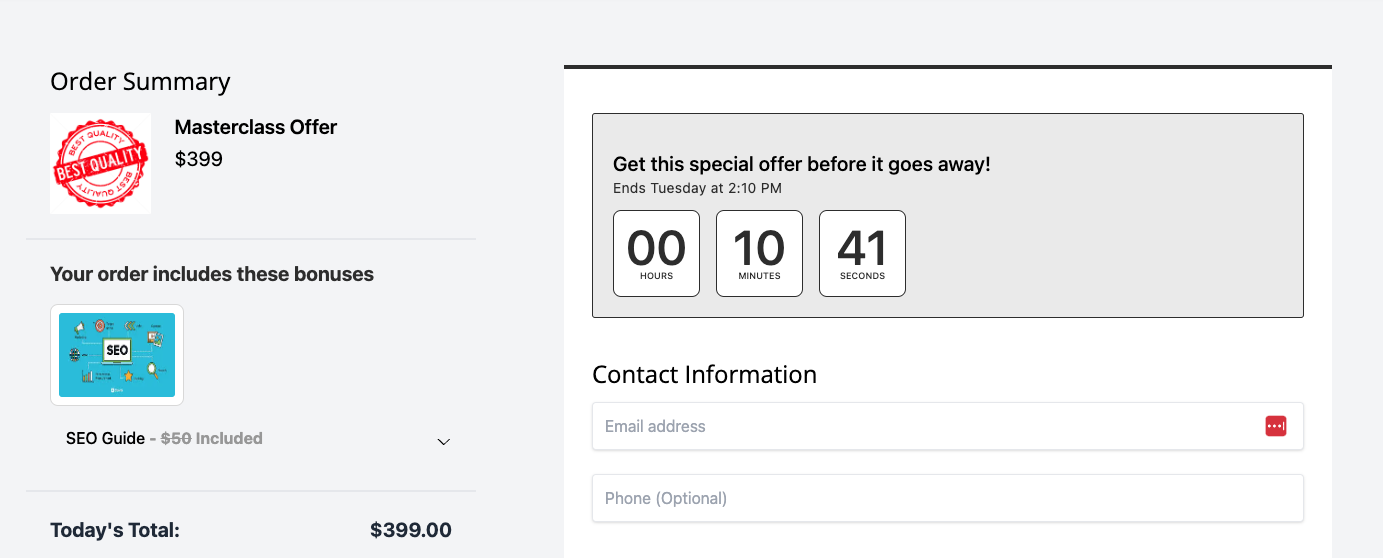
Now when customers visit your offer, they'll see the deadline for the length of time you've set.
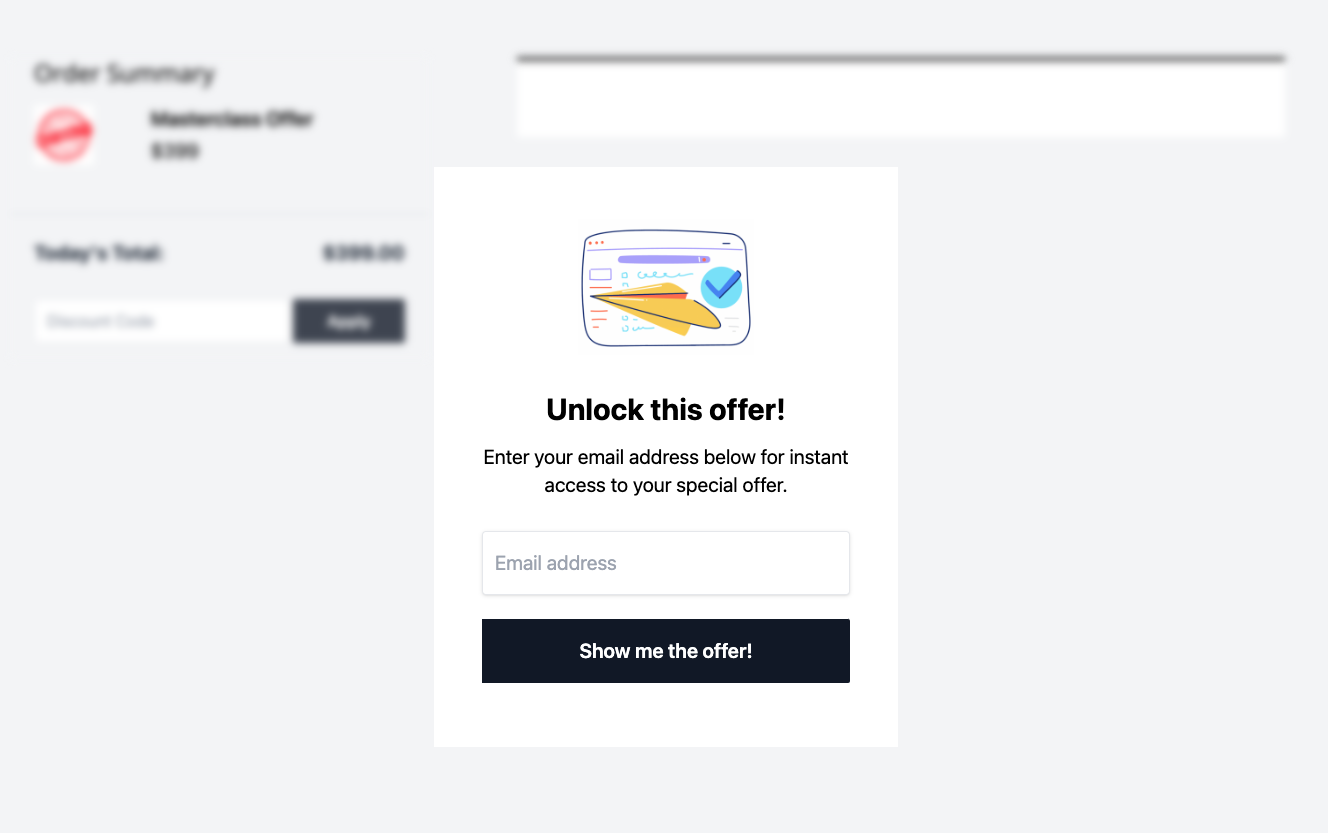
If a subscriber visits your Voma offer directly (without the ?vemail=... parameter in the URL), then they will first see a lightbox where they can enter their email address. Then Voma will check if they have access and if their deadline is expired or not.
❔ If you have any questions, please let us know at help@voma.ai or in our live chat at the bottom right of your screen.